Introduction
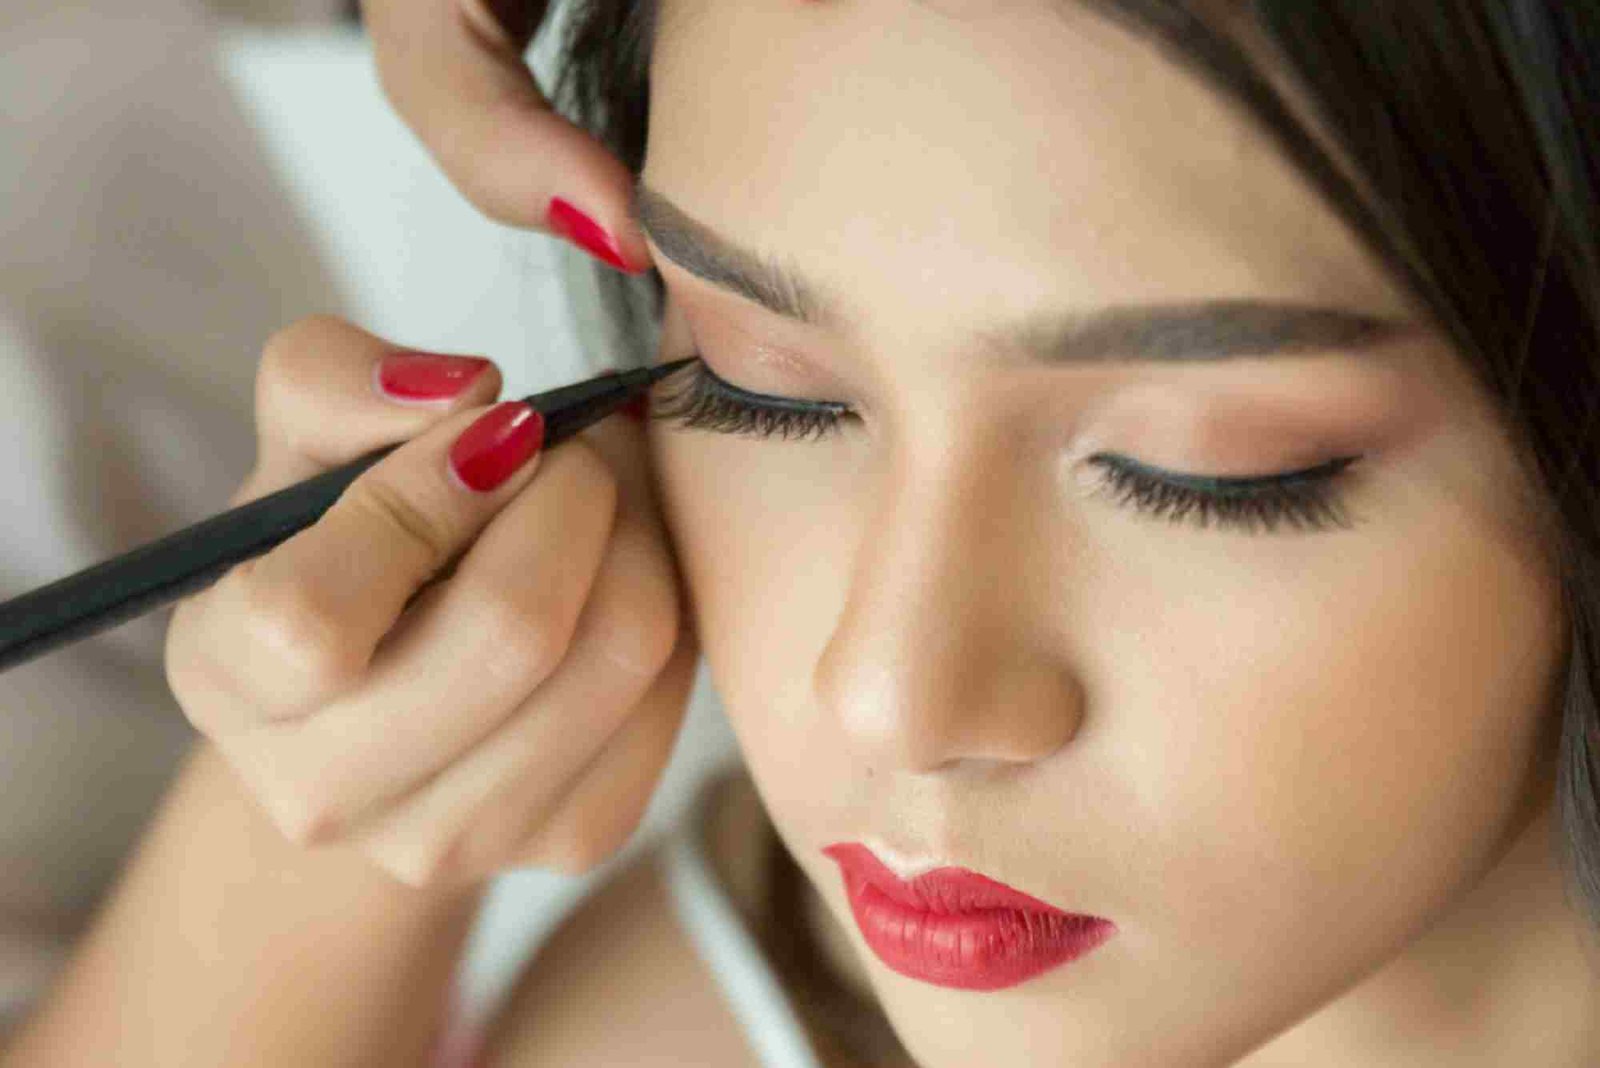
Applying eyeliner may seem intimidating for beginners, but with the right techniques and tools, anyone can achieve a clean and polished look. Eyeliner enhances the eyes, adds depth, and can completely transform your makeup. This guide provides practical tips for beginners to make eyeliner application neat, precise, and long-lasting.
Understanding Eyeliner Basics
Before diving into techniques, it’s important to understand the different types of eyeliner and how each affects application.
Types of Eyeliner
- Pencil Eyeliner
Pencil liners are ideal for beginners because they are easy to control and allow for soft, smudgeable lines. They’re perfect for a natural look or smoky eyes. - Gel Eyeliner
Gel liners offer smooth application and more intensity than pencils. They usually come in pots with a brush and allow for precise, bold lines. - Liquid Eyeliner
Liquid liners are known for sharp, dramatic lines. They require a steady hand but give a clean, professional finish once mastered. - Cream or Kohl Eyeliner
These are soft, blendable liners ideal for a smudged or smoky effect. They are beginner-friendly for creating subtle looks.
Essential Tools for a Neat Eyeliner
Having the right tools can significantly improve your eyeliner application.
Brushes and Applicators
- Angled brush – great for gel and cream liners to create precise lines.
- Fine-tipped brush – perfect for intricate winged designs.
- Smudger – helps soften harsh edges for a natural finish.
Additional Essentials
- Eyelid primer – prevents smudging and ensures long-lasting eyeliner.
- Cotton swabs and makeup remover – correct mistakes without ruining the rest of your makeup.
- Mirror with good lighting – essential for precision.
Step-by-Step Eyeliner Techniques for Beginners
Preparing Your Eyes
- Cleanse your eyelids to remove excess oil.
- Apply a thin layer of eye primer for better adherence.
- Optionally, set your eyelids with a light dusting of translucent powder to prevent smudging.
Simple Line Application
- Start from the inner corner and work outward.
- Use small, short strokes instead of trying to draw a single line.
- Keep your hand steady by resting your elbow on a flat surface.
Creating a Winged Eyeliner
- Draw a small diagonal line from the outer corner of your eye toward the end of your eyebrow.
- Connect the tip to the middle of your eyelid to form a triangle.
- Fill in the triangle and smooth the line for a sharp wing.
Tightlining for a Natural Look
- Apply eyeliner along the upper waterline to make lashes appear thicker without a heavy line.
- Use a waterproof pencil to prevent smudging.
Common Beginner Mistakes and How to Avoid Them
Uneven Lines
- Use small strokes and a mirror at eye level.
- Practice symmetry by drawing the line on one eye, then mirroring it on the other.
Smudging
- Apply eye primer and set with powder.
- Opt for waterproof or long-lasting formulas.
Heavy-Handed Application
- Start lightly and build up intensity gradually.
- Remember: it’s easier to add than to remove excess eyeliner.
Incorrect Wing Angle
- Follow the natural line of your lower lash for a balanced look.
- Use tape or a business card as a guide for precision.
Eyeliner Tips for Different Eye Shapes
Almond Eyes
- Slightly extend the wing to accentuate the shape.
- Thin lines on the inner corners, thicker on the outer.
Hooded Eyes
- Keep the eyeliner thin near the lash line.
- Focus on creating the wing slightly above the natural crease to avoid it disappearing.
Round Eyes
- Draw a subtle line with a slight wing to elongate the eye.
- Avoid heavy liner on the lower lash line, which can make eyes appear smaller.
Monolid Eyes
- Use gel or pencil for softer lines.
- Layer liner gradually and smudge slightly for definition.
Maintaining a Neat Eyeliner Throughout the Day
- Use a setting spray after makeup to lock the eyeliner in place.
- Carry a small angled brush or cotton swab for quick touch-ups.
- Blot away excess oil on eyelids to prevent eyeliner from smearing.
Practice Makes Perfect
The key to neat eyeliner is consistent practice. Beginners should experiment with different products and techniques to find what works best for their eye shape and comfort level. Don’t be discouraged by initial mistakes—precision comes with repetition.
Neat eyeliner is achievable with patience, the right tools, and smart techniques. By understanding eyeliner types, prepping your eyes, and practicing step-by-step methods, beginners can confidently create polished, eye-catching looks. Start small, focus on control, and build your skills gradually.
FAQs
What is the easiest eyeliner for beginners?
Pencil eyeliner is the easiest for beginners because it’s forgiving, easy to control, and allows for smudging if needed.
How do I make my eyeliner last longer?
Use an eye primer, set with powder, and choose waterproof or long-lasting formulas. Setting spray also helps keep it intact.
How can I fix uneven eyeliner?
Use a cotton swab dipped in makeup remover to clean edges, or apply concealer to sharpen and correct mistakes.
Should I line my upper or lower eyelid first?
Start with the upper eyelid for better control and balance. You can lightly line the lower lash afterward if desired.
Can beginners achieve a winged eyeliner look?
Yes! Use small strokes, guide tools like tape, and practice. Start with subtle wings before attempting bold, dramatic ones.
Travel Fashion Tips to Stay Comfortable and Stylish – Traveling doesn’t mean compromising on style. Opt for breathable fabrics, versatile layers, and comfortable shoes. Accessories like scarves and hats add flair while keeping you practical. Stick to mix-and-match pieces for effortless outfits that look chic without sacrificing comfort.